
What is the meaning of Life? Do people have free will? Is beauty objective or subjective? Is it SHIPLAP or NOT? Let’s get a little philosophical here. If you really want to have interesting philosophical conversation with someone or some people, check out the Mantelligence website. Their “About” page says this, “Mantelligence was created because my team and I were tired of reading the same bland, low-quality, and low-value content for men.” Ladies, feel free to pass this site on to a man friend that you feel needs better content to read. In one of the articles of Mantelligence, there is an author, Jasper, who wrote an article on, “30 Deep Philosophical Questions – Highly thought-provoking questions.” In this article, you WILL NOT find shiplap being mentioned, but one could argue that shiplap should be added to it. What you WILL find at question #8 is, “Why Do We Create Art?” Jasper writes, “Art in any form (paintings, sculptures, theater, music, construction) is something that almost all humans enjoy.” I, personally, think he forgot to add shiplap to that list. It’s ok Jasper, we all make mistakes.
While reading this post and you’re looking to have a little background music playing, check out this amazing philosopher’s music. His name is Bob Marley. One of my favorites artists. That’s right! This guy (Me) has a hard time sitting still when those steel drums start making those sweet, smooth rhythms. In this song, Mr. Marley asks, “Is this Love”. Preach Mr. Marley! We’re listening! Mr. Marley could be referring to the way shiplap makes me feel. Yes… it definitely is Love.
ShipLap – The making of
Well, I did it. I got the shiplap made and fastened to the base. Are you ready to check out my way of doing it?
First step, from my previous posts about the materials I am using for this project, you may remember seeing I am using 1″ x 8″ x 8′ quality pine boards. Now for the people who aren’t familiar with shiplap, there are a lot of different versions of “shiplap” out there. Some people call “tongue and groove” shiplap, or plywood with grooves shiplap. Umm… NO! This isn’t my first project with shiplap, but I found a great blog that goes into detail about shiplap. The Craftsman Blog has a great post, written by Scott Sidler, “No Joanna, That’s Not Shiplap”. Mr. Sidle does a great job explaining shiplap and the material posing as shiplap. Being a fan of Joanna, I had a hard time with the title. After reading the article, I slowly got “fine” with it. Joanna, if you’re reading this, let me know if I need to have a talk with Mr. Sidler. (Joking of course!)
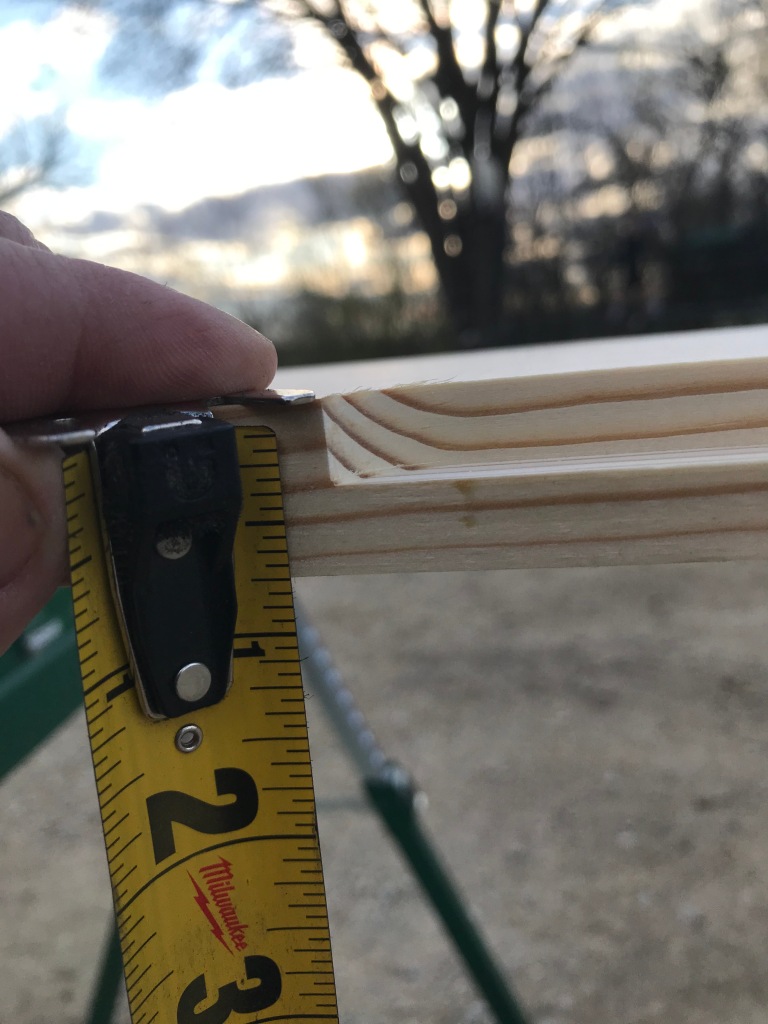
With shiplap, the true design, as Mr. Sidler writes, “Shiplap is a 1x board that has a special rabbet or notch cut on the edges of the board in an alternating fashion.” My my way of making shiplap, I have a router bit, (See photo #1 for reference) that makes these notches or rabbet cuts. I believe the bit cost $15. There are places that will rent out tools if you choose to not buy a router, but you still want to make your own shiplap like I did. The router I used is a Bosch. Again, as far as what brand I like to use. This goes back to one of my earlier posts, when I said I give love to many different tool makers. I spend money on different tools, because people need jobs. It’s my way of supporting those companies and the people working to keep those companies in the game.

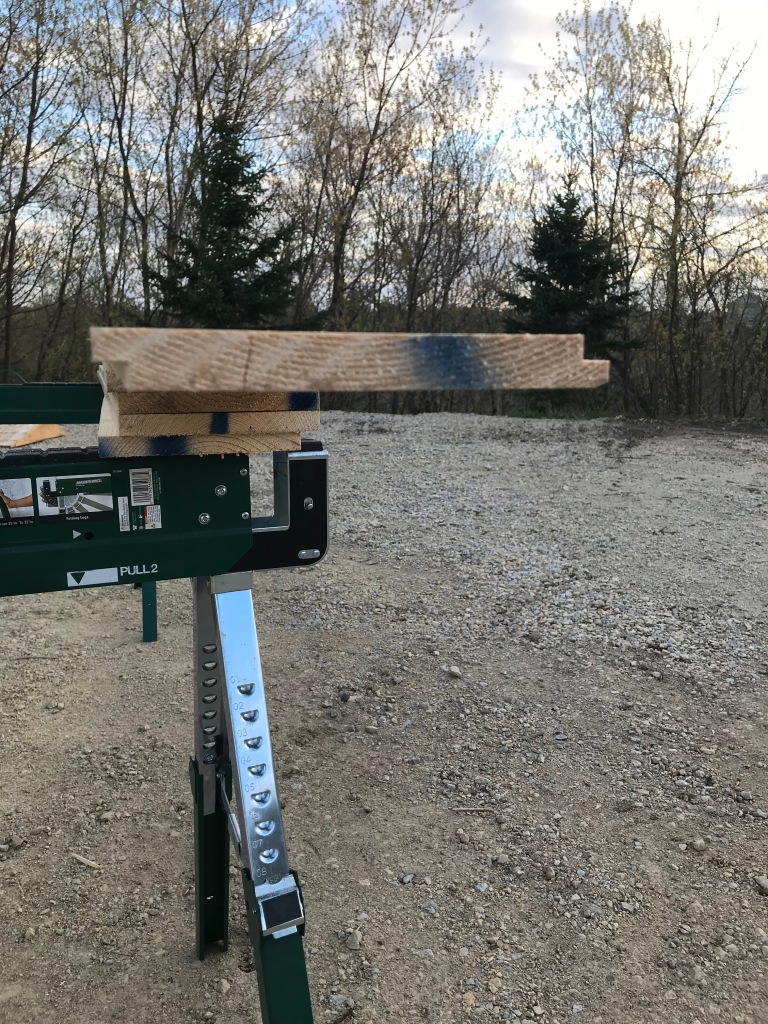
It was a beautiful day, so I set up my sawhorses outside and did all my routering outside to save the shop from getting messy and dusty. I clamped my shiplap board to a 2″ x 6″ x 8′ piece of lumber to keep it from moving. (See photo # 2 for reference.) I made a total of 12 shiplap boards.

Second step, I cut 22 – 32″ boards to cover the outside and insides of the base.. I used two of them to rip down to the remaining width I needed at the top. I cut 20 – 5″ boards to cover the narrow edges of the base.
Third step, I began to fasten the boards to the frame. I used 16 gauge, 2″ nails, used by my Paslode cordless nalier. I did not want the nails to be placed perfectly at specific locations. I started the first row of shiplap about an 1/8″ from the bottom edge of the base. (If something gets spilled on the floor, I didn’t want the moisture to affect the bottom edge of the board.) (See Photo #5 for reference.) I made sure the 32″ board was flush on both ends of the base before the nailing began.

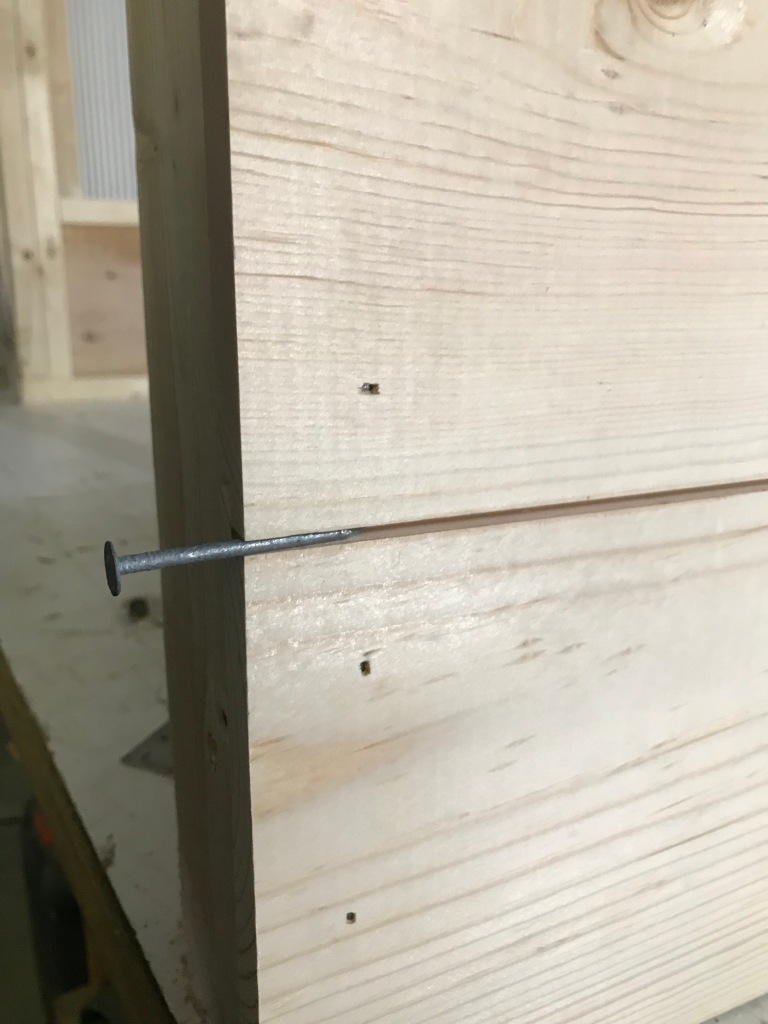
For spacing between the boards, I used two roofing nails for the gap size that I wanted. I placed one nail on either side of the board. I placed the next board on top of the nails and nailed the board in place. (See photo #6 for reference. I removed the nails once the board was secured.) I repeated this step on both outsides and insides until I came to a point where I had to rip down the last piece to the required, remaining width, that would make it flush with the top of the base frame.
After nailing the second shiplap in place, I decided to add a middle 2″ x 4″ for another support to nail the shiplap to. I also had to nail a 1/2″ backing piece to keep the bottom inside shiplap boards from bowing in. (See Photo #7 for reference.) After the outsides and insides were nailed it place, I repeated the steps for the 5″ boards that covered the ends.

Fourth step, I cut two 55″ top shiplap boards that ran the full width of the base frame. The last board measured 5″ wide. (See phots #8 for reference.) I fastened these last two boards to the base frame and called it good for this shiplap phase. I want to say thank you to the person who thought of shiplap and shared it with the world!

Paint it gray
I hauled the base up to my garage. I wanted to get it into a cleaner and more climate controlled environment.
The color I ended up choosing is called “Cliffside Gray”. I mentioned in one of my earlier post which brand and kind of paint I’d be using. (See Photo #9, for reference.) I used a 4″ foam roller to apply the paint. To get into the grooves, I used a 2″ angled bristle brush.

What’s next?
In the next post, I’m switching gears from woodworking to metal work. I’ll start cutting the footrests to length. I have to weld end caps and brackets to the footrests. We’re almost done! Please stay with me until the final project is revealed!
Blogs Cited:
The Craftsman Blog, The Craftsman Blog, Scott Sidler, “No Joanna, That’s Not Shiplap”
Mantelligence, Mantelligence | Men’s Online Magazine | Become a Better Man, Jasper, “30 Deep Philosophical Questions – Highly thought-provoking questions.”
Musicians and Video Referenced:
Bob Marley, “Is This Love”, Bob Marley – Is This Love (Official Music Video) – Bing video
Tools Referenced:
Bosch, Routers & Router Tables (boschtools.com)
Paslode, Paslode | 16 Ga Angled Cordless Li-ion Finish Nailer

Looks like it’s coming along! I love all the photos you add, they really show great progress. Keep up the good work.
LikeLike